How to Install WordPress on Your Hosting: 7 Clear Steps
If you already have a domain and hosting, the simplest way how to install WordPress is through your hosting account’s WordPress installer. You choose where the site should appear, create an admin login, run the installer, and check both the website and dashboard.
The part worth slowing down for is the installation path. A small change there decides whether visitors see your site at example.com or example.com/blog/.
Before You Install WordPress
Have these ready:
- A hosting account that supports WordPress
- A domain connected to that hosting account, or a temporary domain supplied by the host
- Access to your hosting control panel
- An email address you can use for your WordPress admin account
Your host should meet WordPress’s current hosting requirements. A WordPress-ready hosting plan will usually handle the server setup for you, but check your provider’s specifications if you are using a custom server.
Already have a website on the domain? Stop before starting a fresh installation. Confirm which folder the existing site uses and make a backup. Installing into the wrong location could interfere with files or a site you meant to keep. If you are moving an existing WordPress site, you need a migration process, not these fresh-install steps.
Choose the Right Installation Method
| Your situation | Start here |
|---|---|
| Your hosting panel has a WordPress installer | Use it. This is the main method below. |
| Your host uses Hostinger hPanel | Follow the main steps, then use the Hostinger example for the menu location. |
| Your host uses cPanel | Look for WP Toolkit or another installer supplied by the host. |
| No installer is available | Use the manual installation route later in this guide. |
WordPress.com is a different route: you create a site through its own signup process rather than installing the self-hosted WordPress software in your hosting account.
How to Install WordPress With Your Hosting Installer
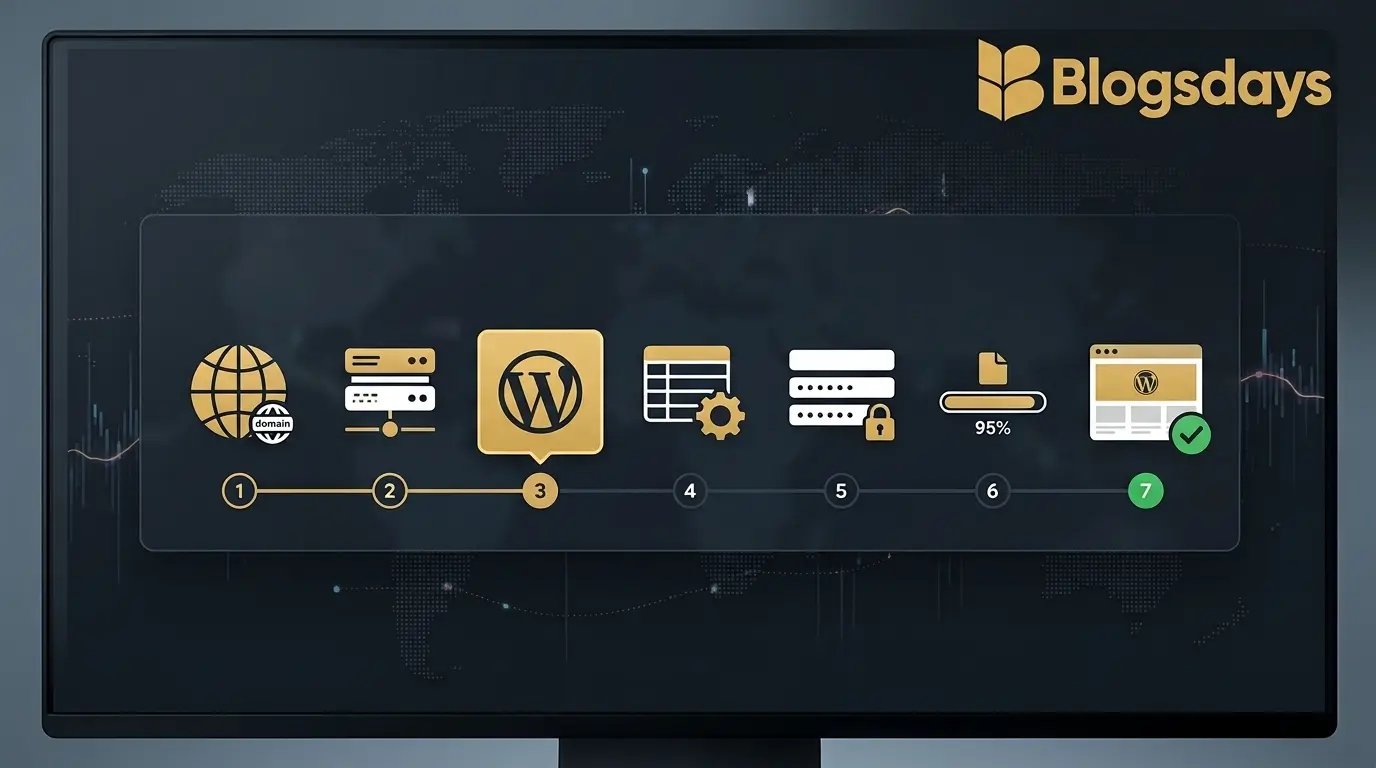
Menu names vary between hosts, but work through these seven decisions in order.
- Open your hosting control panel. Choose the website or hosting plan where WordPress should go.
- Find the WordPress installer. Your panel may call it WordPress, Auto Installer, WP Toolkit, or something similar.
- Choose the domain and installation path. Check this field carefully before continuing.
- Enter a site title. You can change the title later in WordPress.
- Create the WordPress admin account. Enter an email address you can access, a unique username, and a strong password. Save these details securely; they may differ from your hosting login.
- Review the available options and install. If offered, select the current WordPress version, your preferred dashboard language, and an update setting you understand.
- Open the installed site and sign in. Visit its public URL, then open its admin login to check that the dashboard works.
The installer may display a completion message and links to both locations. Save the final site URL it shows rather than assuming where WordPress was installed.
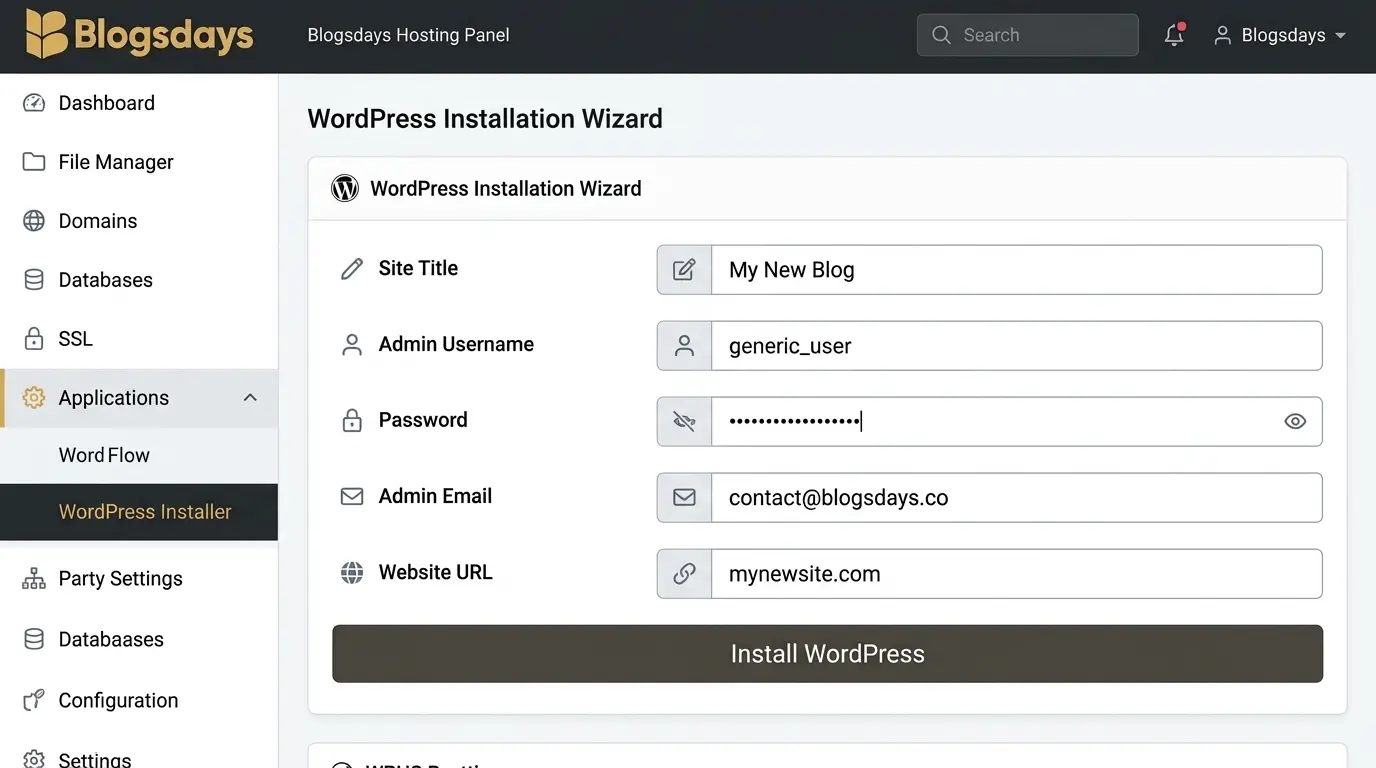
Show the WordPress installer in the hosting panel, with the menu item marked. Use a screenshot from the panel actually described; hide account information.
Check the domain and installation path
Choose the domain root if WordPress should run the whole website:
https://example.com
Choose a subdirectory only if you deliberately want a separate address, such as:
https://example.com/blog
Do not enter blog just because you plan to publish blog posts. A WordPress site installed at the domain root can still have a blog section. The path changes the site’s address, not its ability to publish articles. WordPress’s installation instructions distinguish between placing files in the domain root and placing them in a subdirectory.
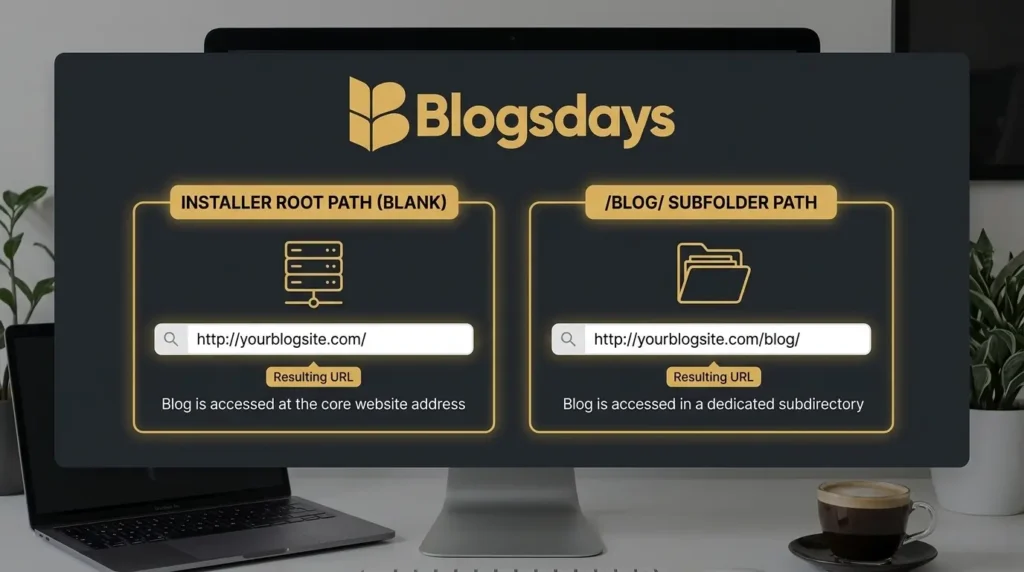
Show a simple comparison of the installer’s blank/root path and a /blog/ path. Label the resulting URL for each.
Create your WordPress admin account
Use an email address you control; it is needed for account notices and password recovery. Choose a username that is not simply admin, and store a strong, unique password in a password manager.
Your WordPress admin credentials are for editing the site. Your hosting credentials manage the hosting account. Keeping track of both saves confusion when you next sign in.
Hostinger hPanel Example
If your site is on Hostinger, its current support instructions place the installer under Websites → Dashboard → Website → Auto Installer. Select WordPress, enter the website and administrator details, review the path and version options, then install. Hostinger says the domain should already be added to the hosting plan and pointed to Hostinger before you begin. Panel labels can change, so use Hostinger’s current Auto Installer instructions if your screen looks different.
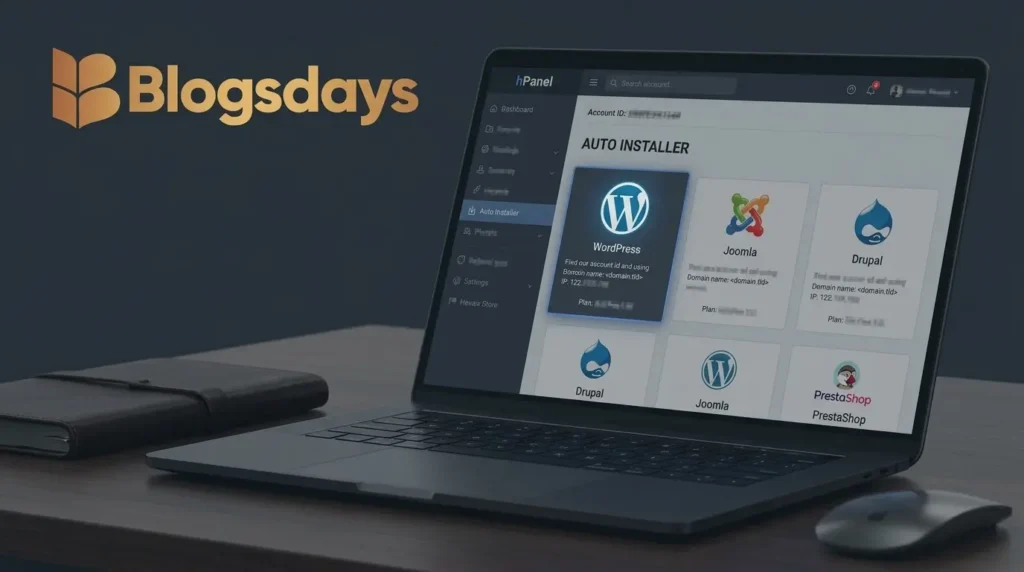
Show the Auto Installer menu and WordPress selection. Do not include your account ID, domain-management details, or passwords.
If Your Host Uses cPanel
Look for WP Toolkit or the WordPress installer your provider makes available. Select the domain, check the installation path, enter the admin details, and review the settings before you confirm.
Not every cPanel account shows the same tools: the hosting provider can enable or disable WP Toolkit. If it is missing, search your panel for another application installer or ask your host which WordPress installation method it supports. cPanel’s WP Toolkit documentation explains that availability depends on the host.
How to Install WordPress Manually
Use this route when your hosting account has no suitable installer or you need control over the files and database. It requires more care than the panel method.
- Download WordPress from WordPress.org.
- Create a database and a database user through your hosting panel. Give that user access to the database, and keep the credentials handy.
- Upload the extracted WordPress files to the location where the site should live. For a site at the domain root, upload the contents of the WordPress folder to the correct web-root directory, not an extra
wordpressfolder by accident. - Open that location in your browser. Follow the installation screen and supply the database details when requested. Editing
wp-config.phpyourself is optional in the official manual installation process. - Enter your site and admin-account details, finish the installation, and sign in.
Your host’s web-root folder and database screens may have different names. Do not delete unfamiliar files to make room. If the domain already serves a website, check the destination and backup before uploading anything.
Check That the Installation Worked
Do these checks before you start adding themes or plugins:
- Open the site’s public URL. Does it show the new WordPress site at the address you intended?
- Open the admin area, commonly
https://your-domain.com/wp-admin/, and sign in with the WordPress credentials you created. - Confirm that the address uses HTTPS and that your browser does not warn about the connection.
- Check that the installer did not place the site in an unintended folder or on a temporary domain.
Reaching the dashboard means the installation is working. It does not mean the site is ready to publish: its content, backups, updates, privacy settings, and search visibility still need attention.
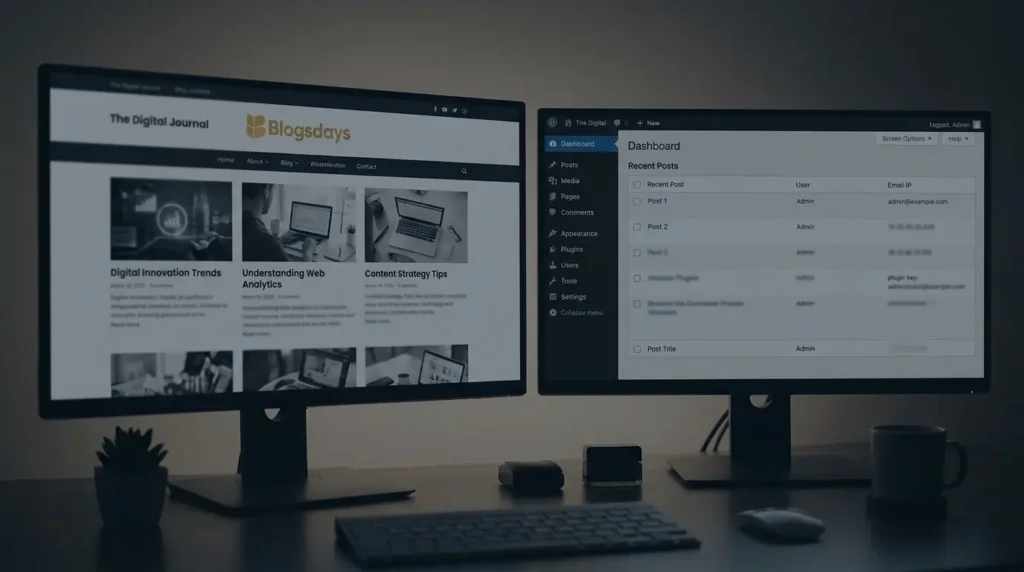
Show the public site beside the WordPress dashboard. Use your own installation and hide any private information.
Fix Common Installation Problems
| What you see | What to check first |
|---|---|
| The domain shows the old site or a host placeholder | Confirm the domain points to the intended hosting account and check the WordPress installation URL shown in the panel. |
WordPress opens at /wordpress/ or /blog/ instead of the main domain | Check the path selected during installation. Do not move a working site’s files or change URLs without a backup and a proper move plan. |
| “Error establishing a database connection” | For a manual install, check the database name, username, password, and host in wp-config.php. If they are correct, ask the hosting provider to check the database service. WordPress’s error guide lists these as initial checks. |
| You cannot sign in | Make sure you are using the WordPress admin details, not your hosting login. Check the installed site’s actual admin URL and use password reset if necessary. |
| The browser warns that the site is not secure | Check your host’s SSL/HTTPS setup before changing site addresses. |
Avoid repeatedly running the installer as a troubleshooting step. First find out whether an installation already exists and where it was placed.
What to Do After Installation
Once the public site and dashboard both open, check WordPress updates, set up backups, and review Settings → General and Settings → Permalinks. Add your theme and only the plugins you need.
Before making the site public, replace sample content and review its search visibility setting. Installing WordPress and preparing a website for launch are two separate tasks.
Frequently Asked Questions
Do I need to download WordPress if my host has an installer?
Usually not. The hosting installer obtains and sets up WordPress for you. Download the package when you choose the manual route.
Is a WordPress.com account required?
No. A self-hosted installation on your own hosting account does not require you to create a WordPress.com site. WordPress.com’s setup process is a separate way to create a website.
Can I install WordPress on my computer instead?
Yes, but a local installation is for work on your own computer and follows a different setup process. It will not make the site available on your public domain by itself.
Should I reinstall WordPress if the site already exists?
Not to fix a login, theme, or configuration problem. Find the existing installation and make a backup before considering any reinstall. A fresh install is not the same thing as repairing or migrating a site.
If you are starting a new public site, use your host’s installer, choose the domain path deliberately, and verify both the site and admin dashboard before building anything else.